Linking Tagalys created Smart Categories in the navigation menu can be done in two methods.
Method 1: Direct Method (All Tagalys categories will be grouped under a parent menu)
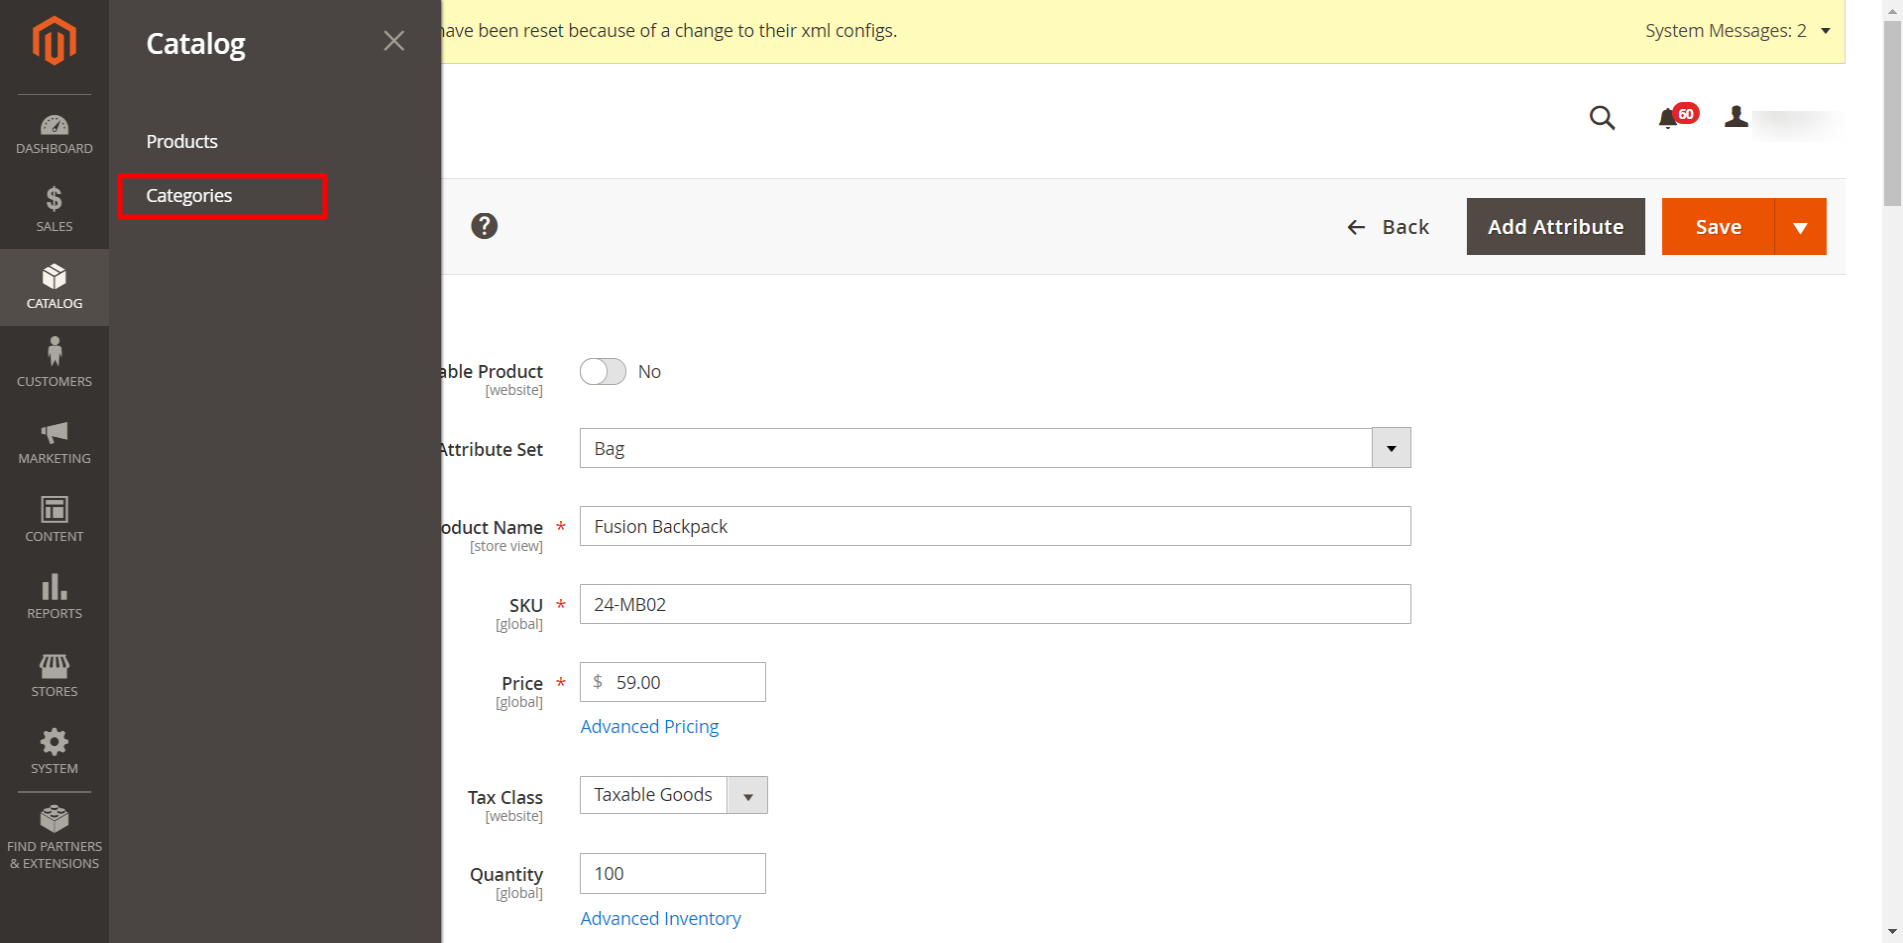
1. Log in to your Magento admin
2. Navigate to Catalog → Categories
3. Select your 'store view' for which you would like to add the Tagalys Categories. Click on the Tagalys parent category and enable 'Include in Menu'.
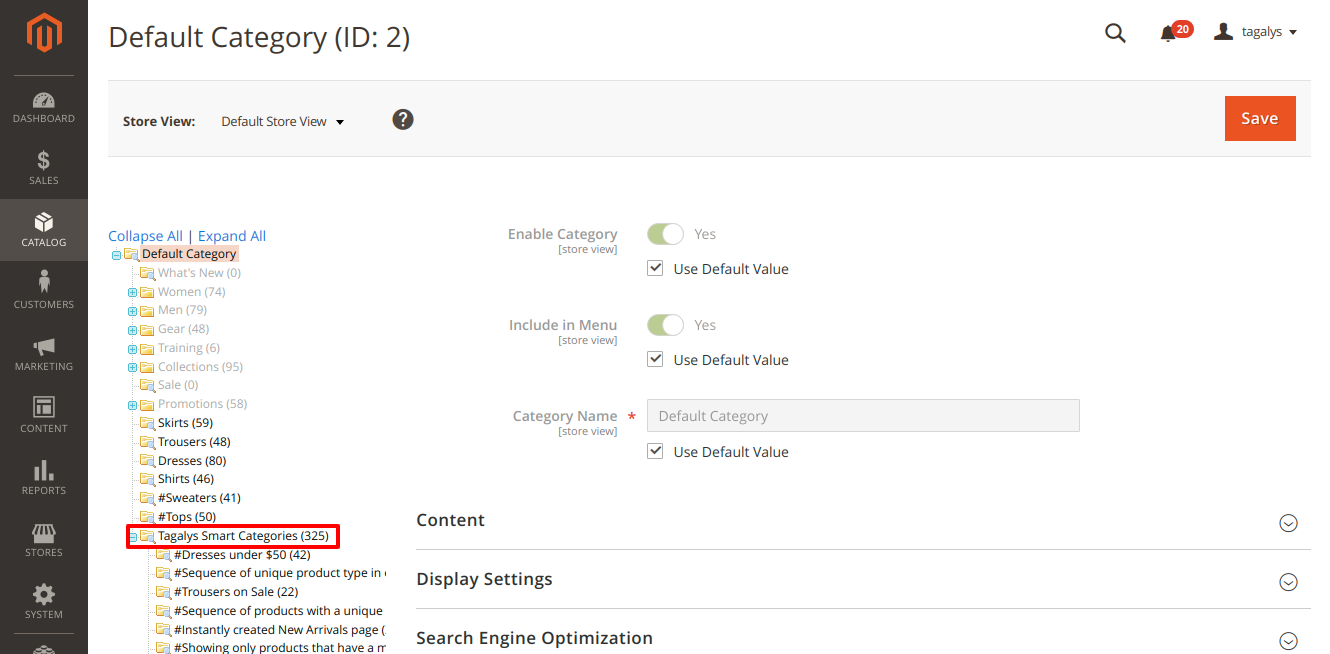
4. Once enabled, hit the save button

5. Once saved, all the Tagalys created categories will be included in the navigation menu as shown below

6. You can also choose to disable individual sub-categories inside the parent menu.
Method 2: Overriding Navigation menu (to be done by the development team)
This method explains creating a custom navigation menu where you can include any combination of Categories (both Tagalys & Magento). Please understand that this method may change your existing structure of the navigation menu.
Example: for the Magento default theme, please follow the below steps. This involves 2 parts
Part 1: Creating a new static block.
A 'Tree structure' of the navigation menu will be created in the editor which can be seen as a reference to the frontend.
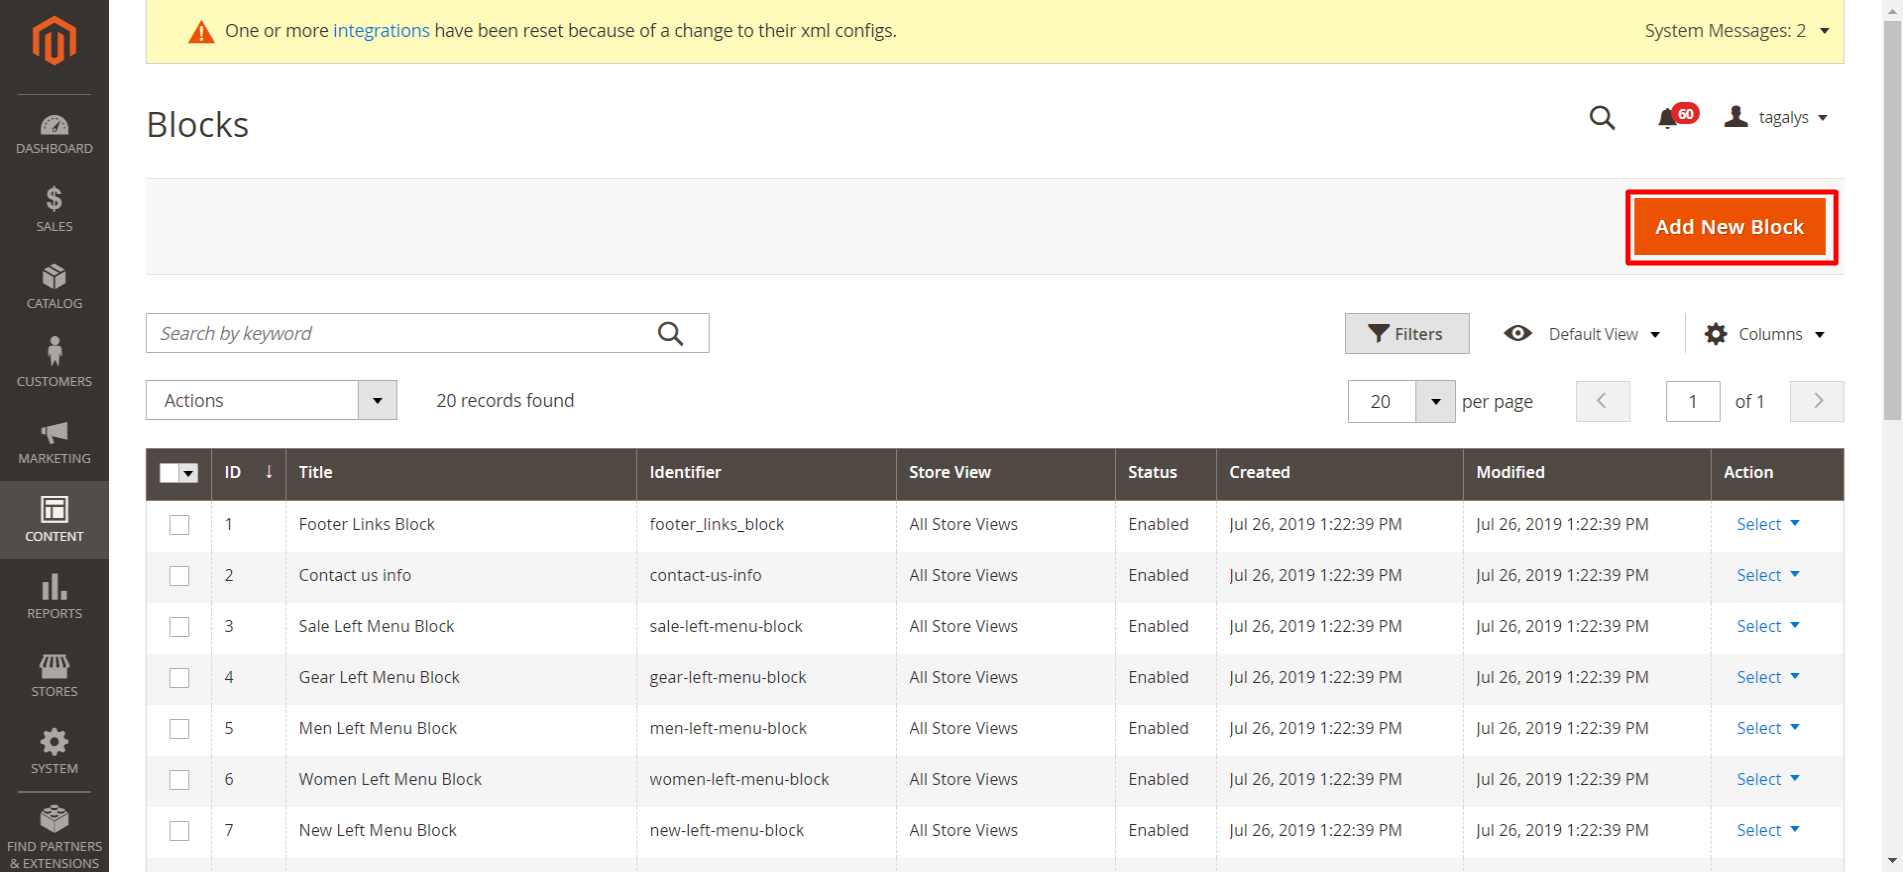
1.1. Log in to your Magento admin and navigate to Content -> Blocks -> Add new blocks

1.2. Enter a suitable name and identifier
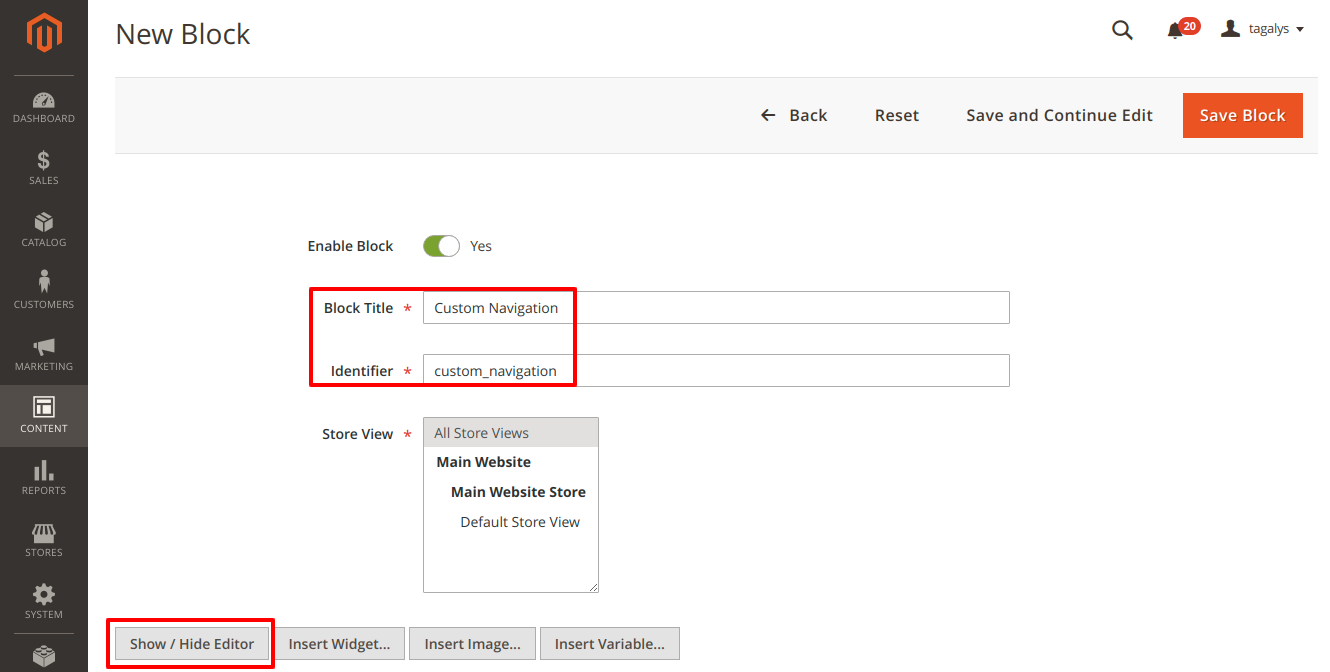
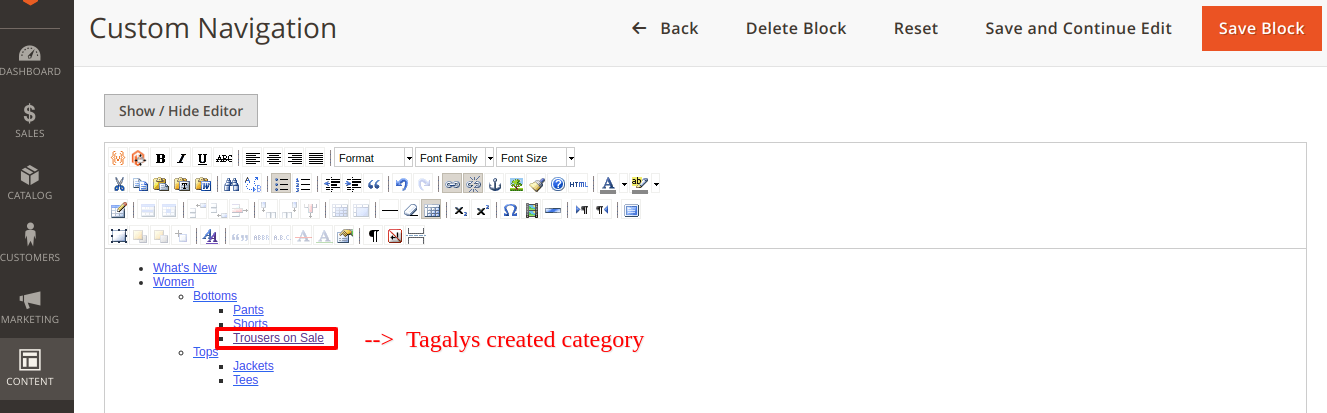
1.3. Click 'Show/Hide editor'. Make an unordered list with your desired menu structure.
Each item can be a link to a Tagalys created Category, a standard Magento Category, or any static page as per your requirements. Items can be nested in multiple dropdown menus. Add the necessary HTML classes so that the front-end CSS/JavaScript is able to render the menu as designed.
1.4. Save the block once the list is created.
1.5. You can also choose to edit the list if required. Simply add/delete the category name and hyperlink it as shown below.
Part 2: Replace the default navigation menu with the newly created custom static block
2.1 Find the phtml file that contains the HTML for the top navigation menu.
For the Magento default theme considered in this example, it is located in the following path
vendor/magento/module-theme/view/frontend/templates/html/topmenu.phtml
The phtml file looks like the below HTML
<nav class="navigation" data-action="navigation"> <ul data-mage-init='{"menu":{"responsive":true, "expanded":true, "position":{"my":"left top","at":"left bottom"}}}'> <?= /* @escapeNotVerified */ $_menu ?> <?= /* @escapeNotVerified */ $block->getChildHtml() ?> </ul> </nav>
2.2 Here, you can remove the <ul> tag and its content and replace that with a PHP code, similar to the example shown below, which will render the custom cms block we just created.
<nav class="navigation" data-action="navigation"> <?= $this->getLayout() ->createBlock('Magento\Cms\Block\Block') ->setBlockId('custom_navigation') ->toHtml() ?> </nav>
Note: Replace custom_navigation with the identifier of your static block.