To change the URL Prefix of Tagalys Smart Categories, follow the steps given below:
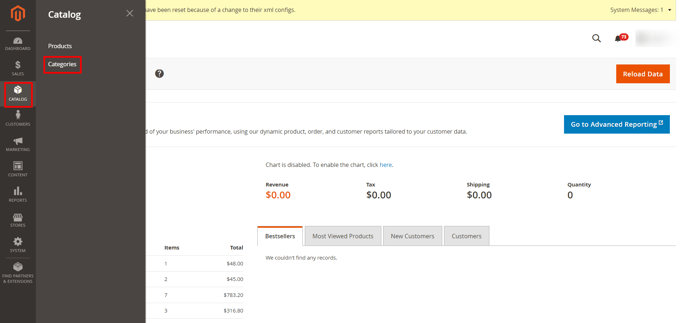
- Go to Catalog > Categories section in your Magento Admin Panel
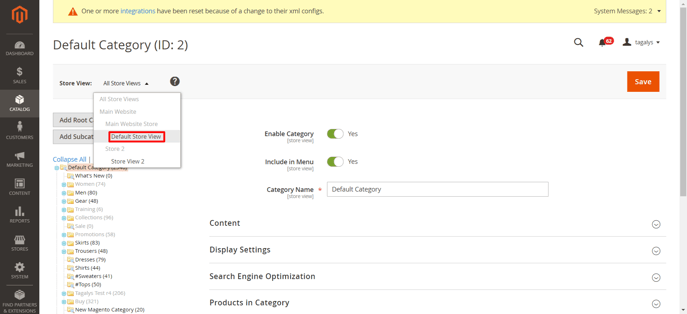
- Based on your store configuration, click on the store view where you want to make the changes.
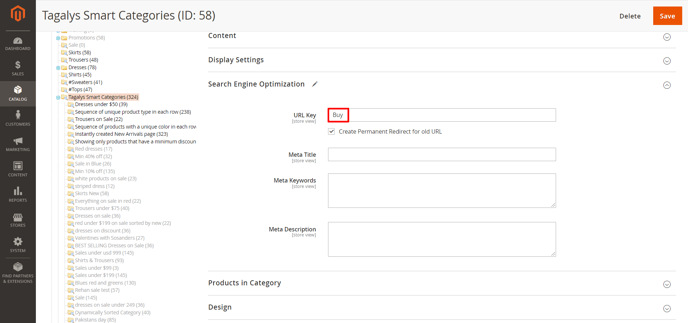
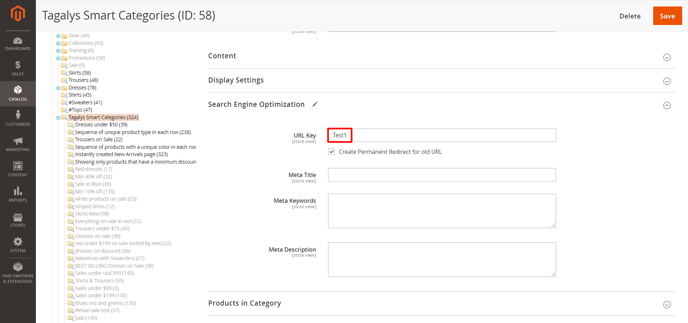
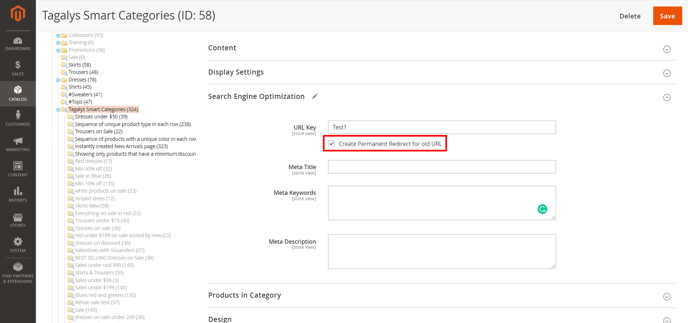
- Edit the Category name as per your requirement. In the below example, the Tagalys Smart Category 'Buy' is changed to 'Test 1'.
- Click on the Check box to ensure all the old URLs are redirected to the new Categories. Once done, hit on Save, on the top right corner.
Once you have changed the name of the Parent Tagalys Smart Category, follow the below steps to ensure that the updates are sent to Tagalys.
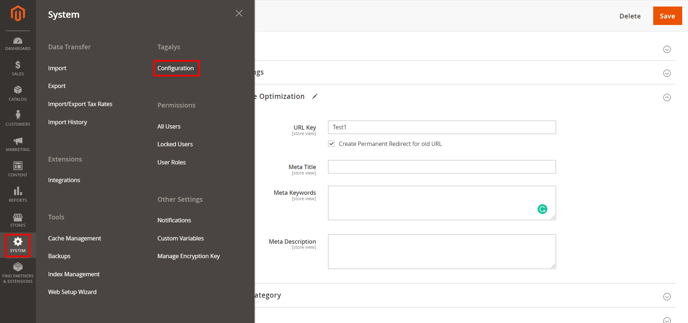
- Go to Tagalys > Configuration section under System.
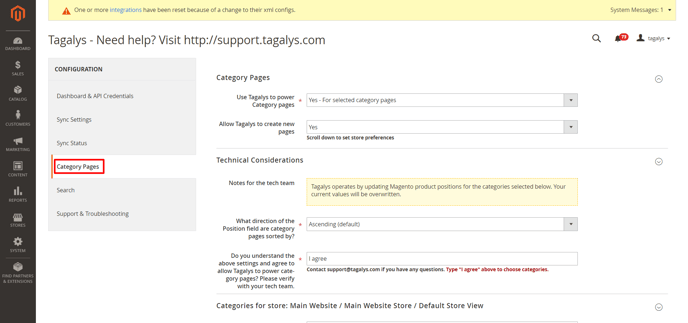
- Select the 'Listing Pages' or 'Category Pages' tab.
- Click on the Save button at the bottom without changing anything.
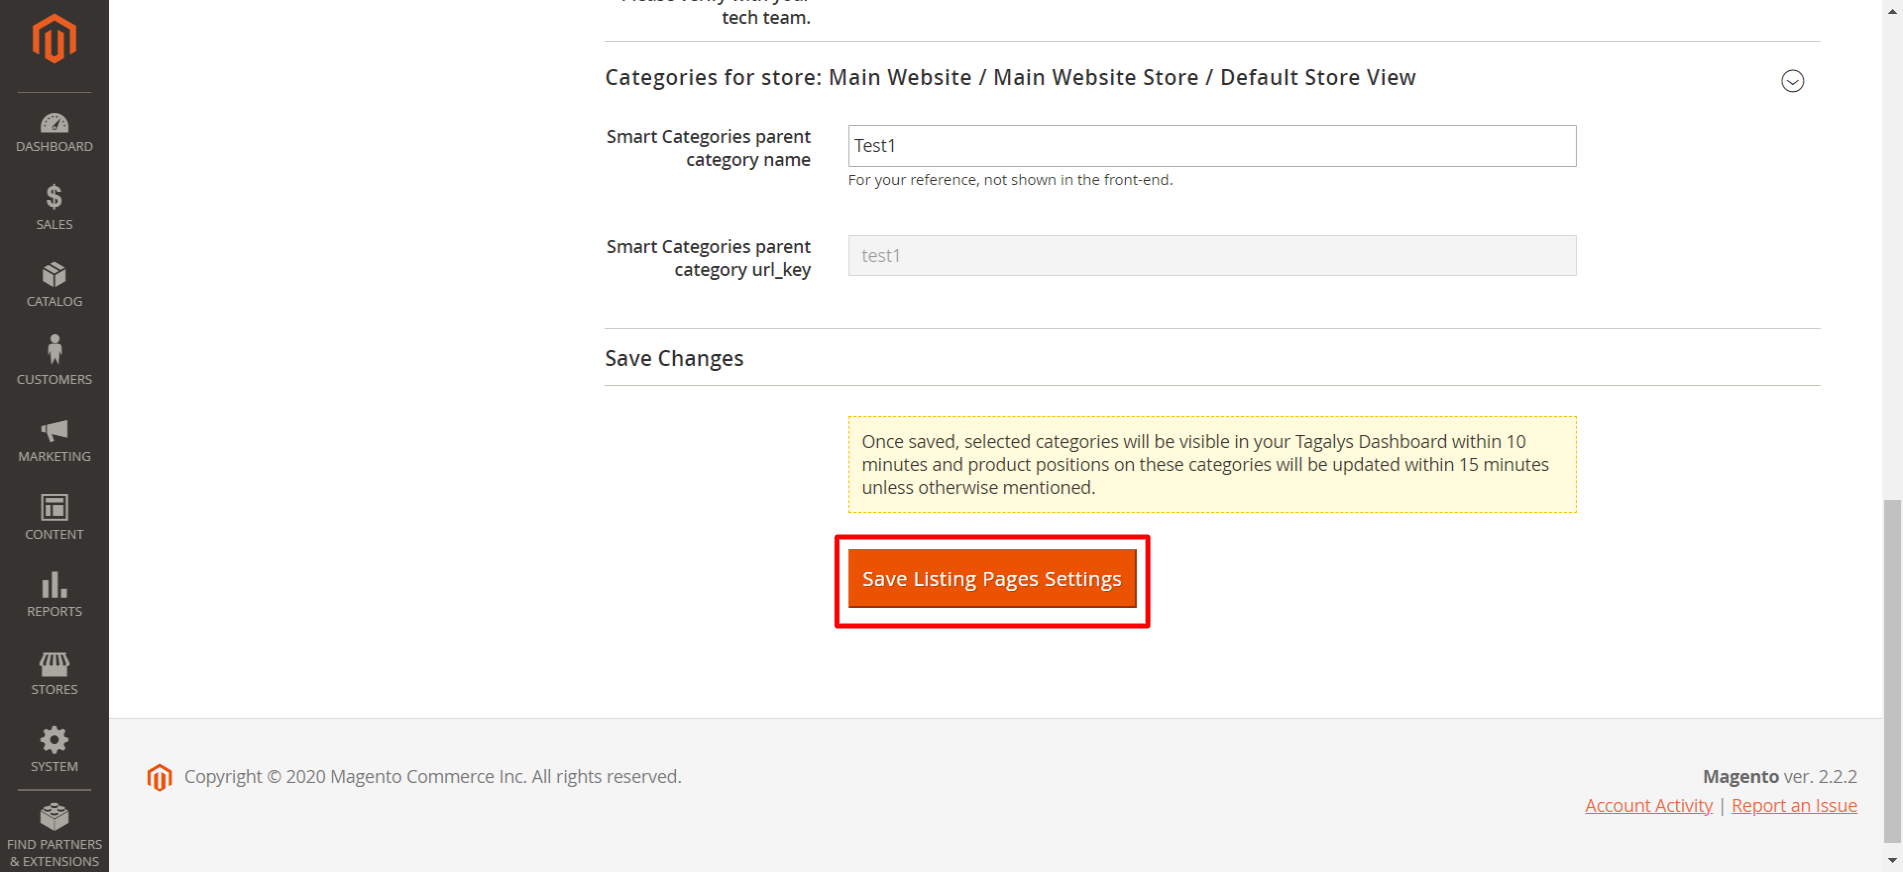
- Once you have saved, the URL Prefix of the Smart Category will be changed to 'test1' after 5 to 10 minutes.
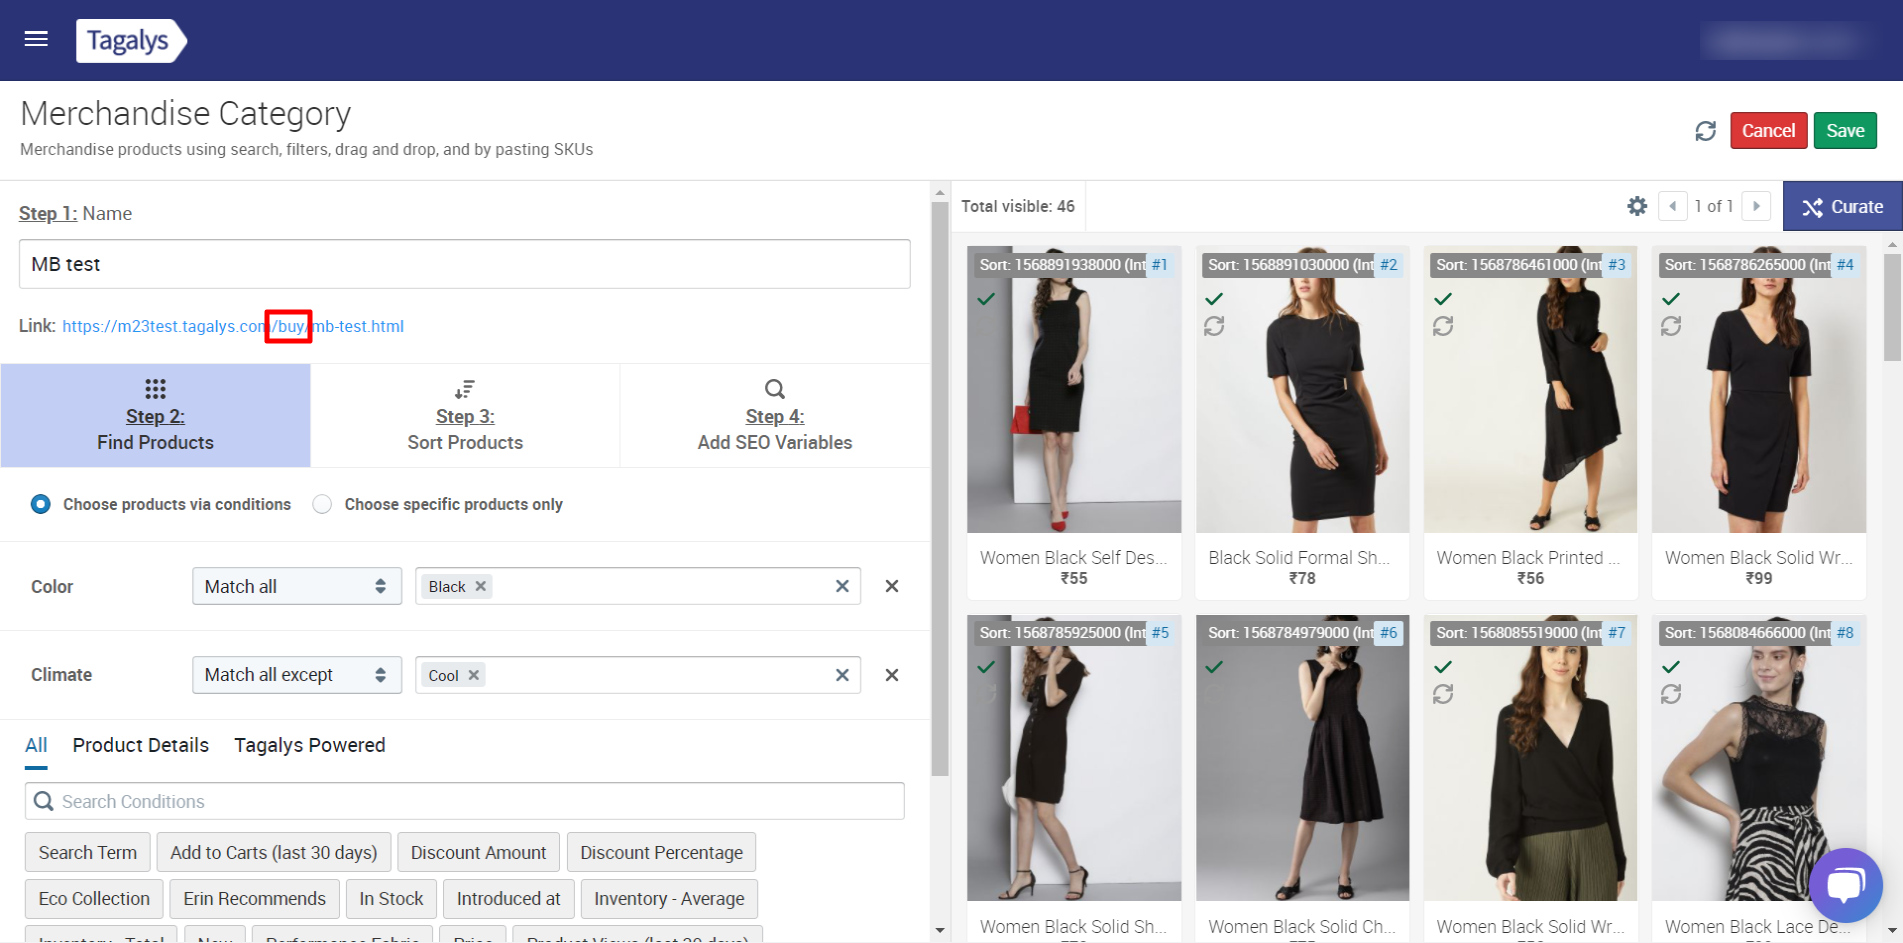
Note: Category URL prefix is 'buy' before making the changes.
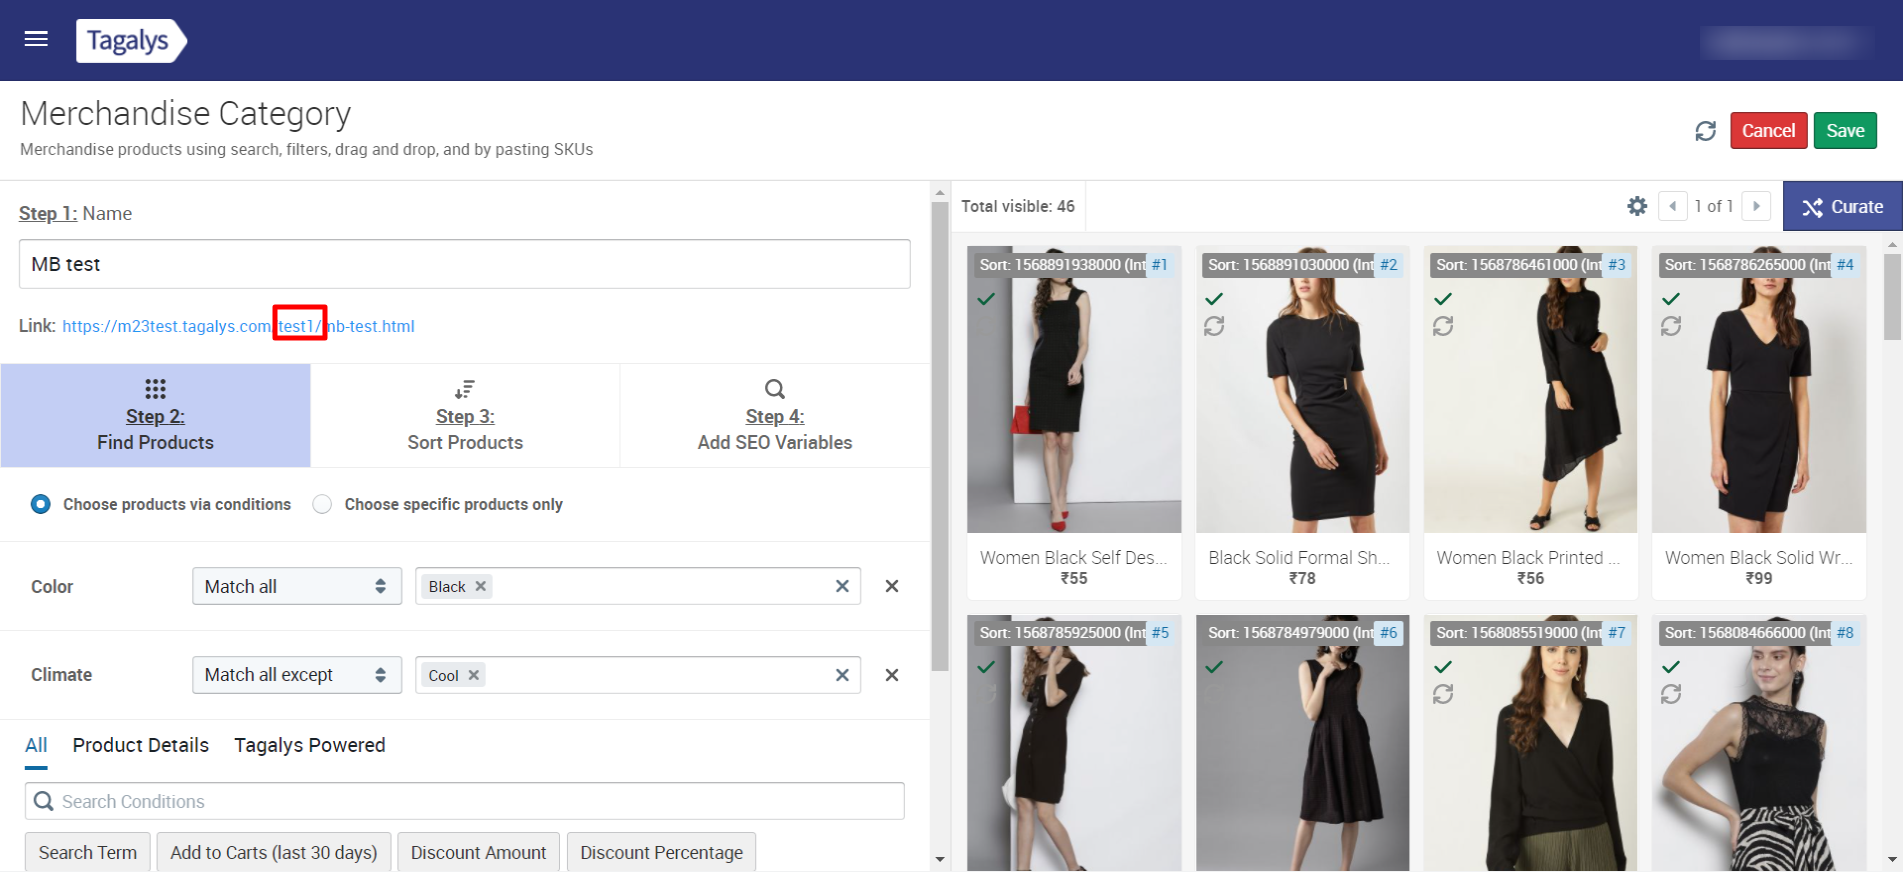
Note: Category URL prefix is 'test1' after making the changes.
- The Categories require reindexing in Magento to ensure all the old links are redirected. Please check with your Magento developers regarding the same.
- Please note that changing the URL Prefix of existing Smart Categories will impact the SEO of the Categories.